Tuesday, August 29, 2023

NUTS! - Operation Compass Solo Campaign #1 Wadi Patrol.

The Mission

2nd Lieutenant Kip Chaplin has been tasked by his Company Commander to take a section of his men and recon patrol over the wadi that parallels the British line of march towards Sidi Barani.
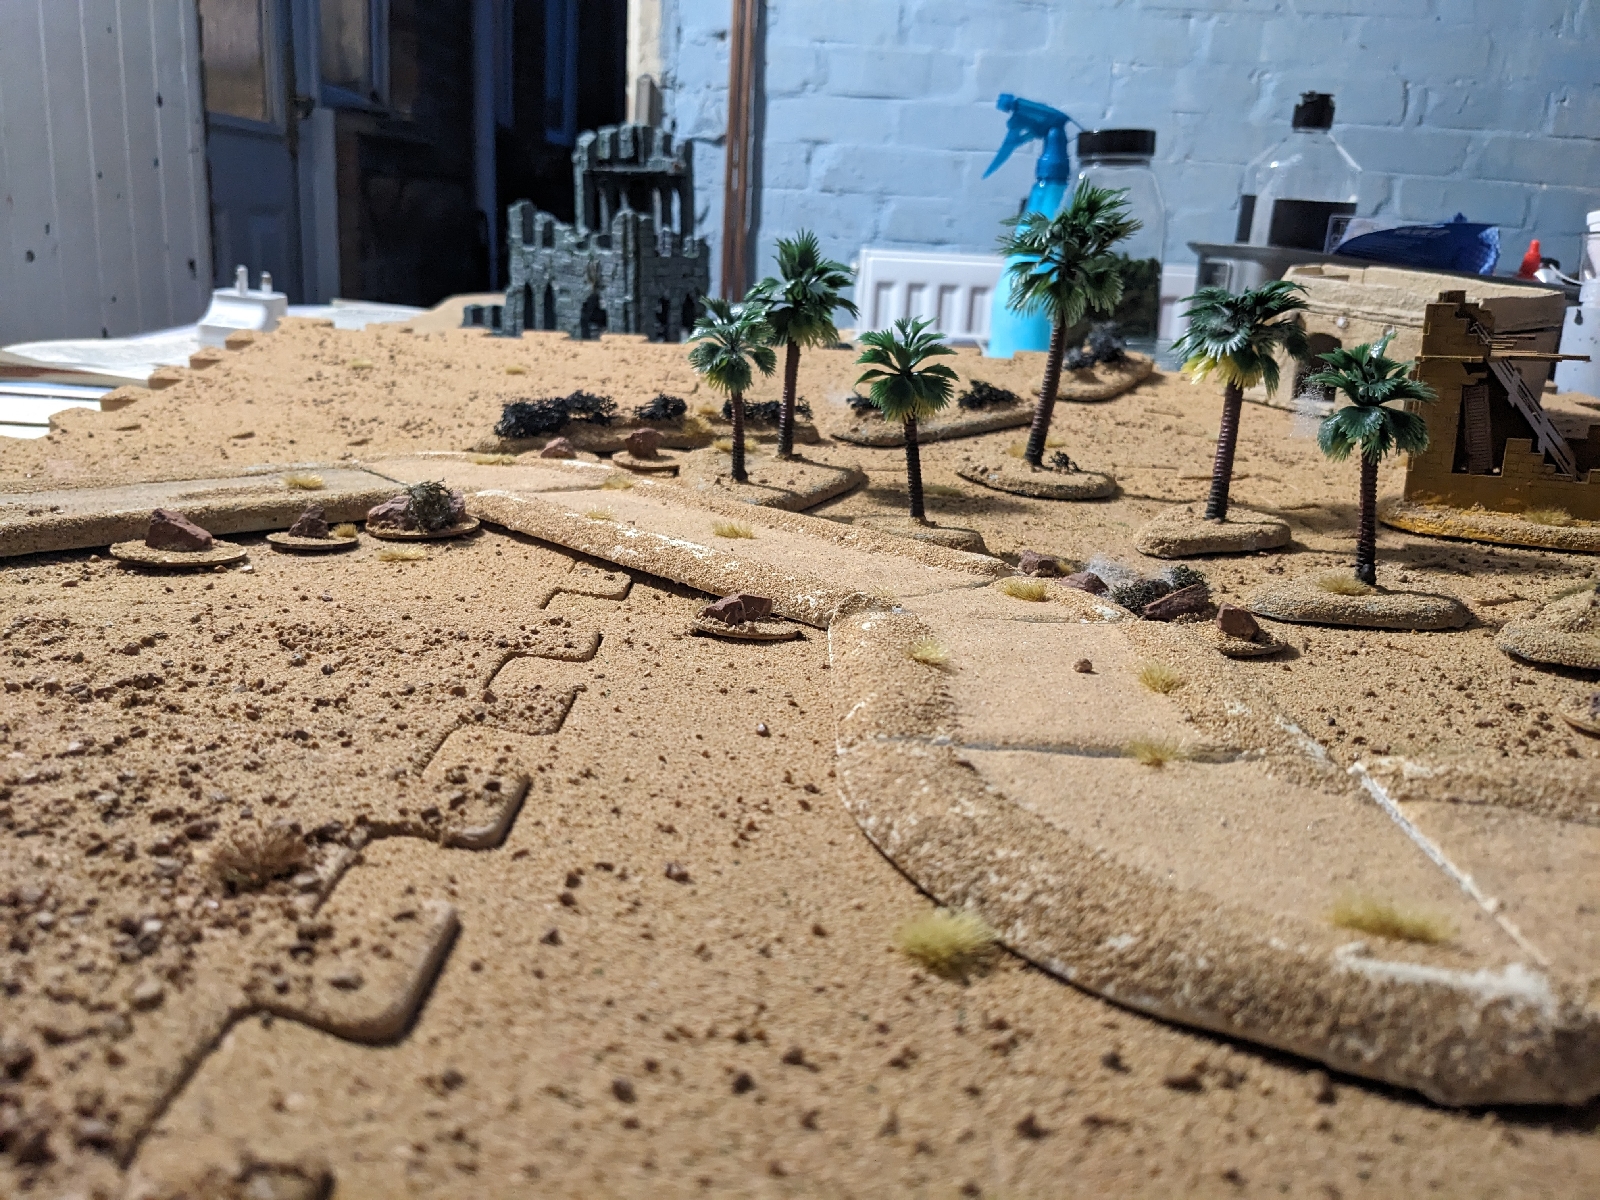

Deployment


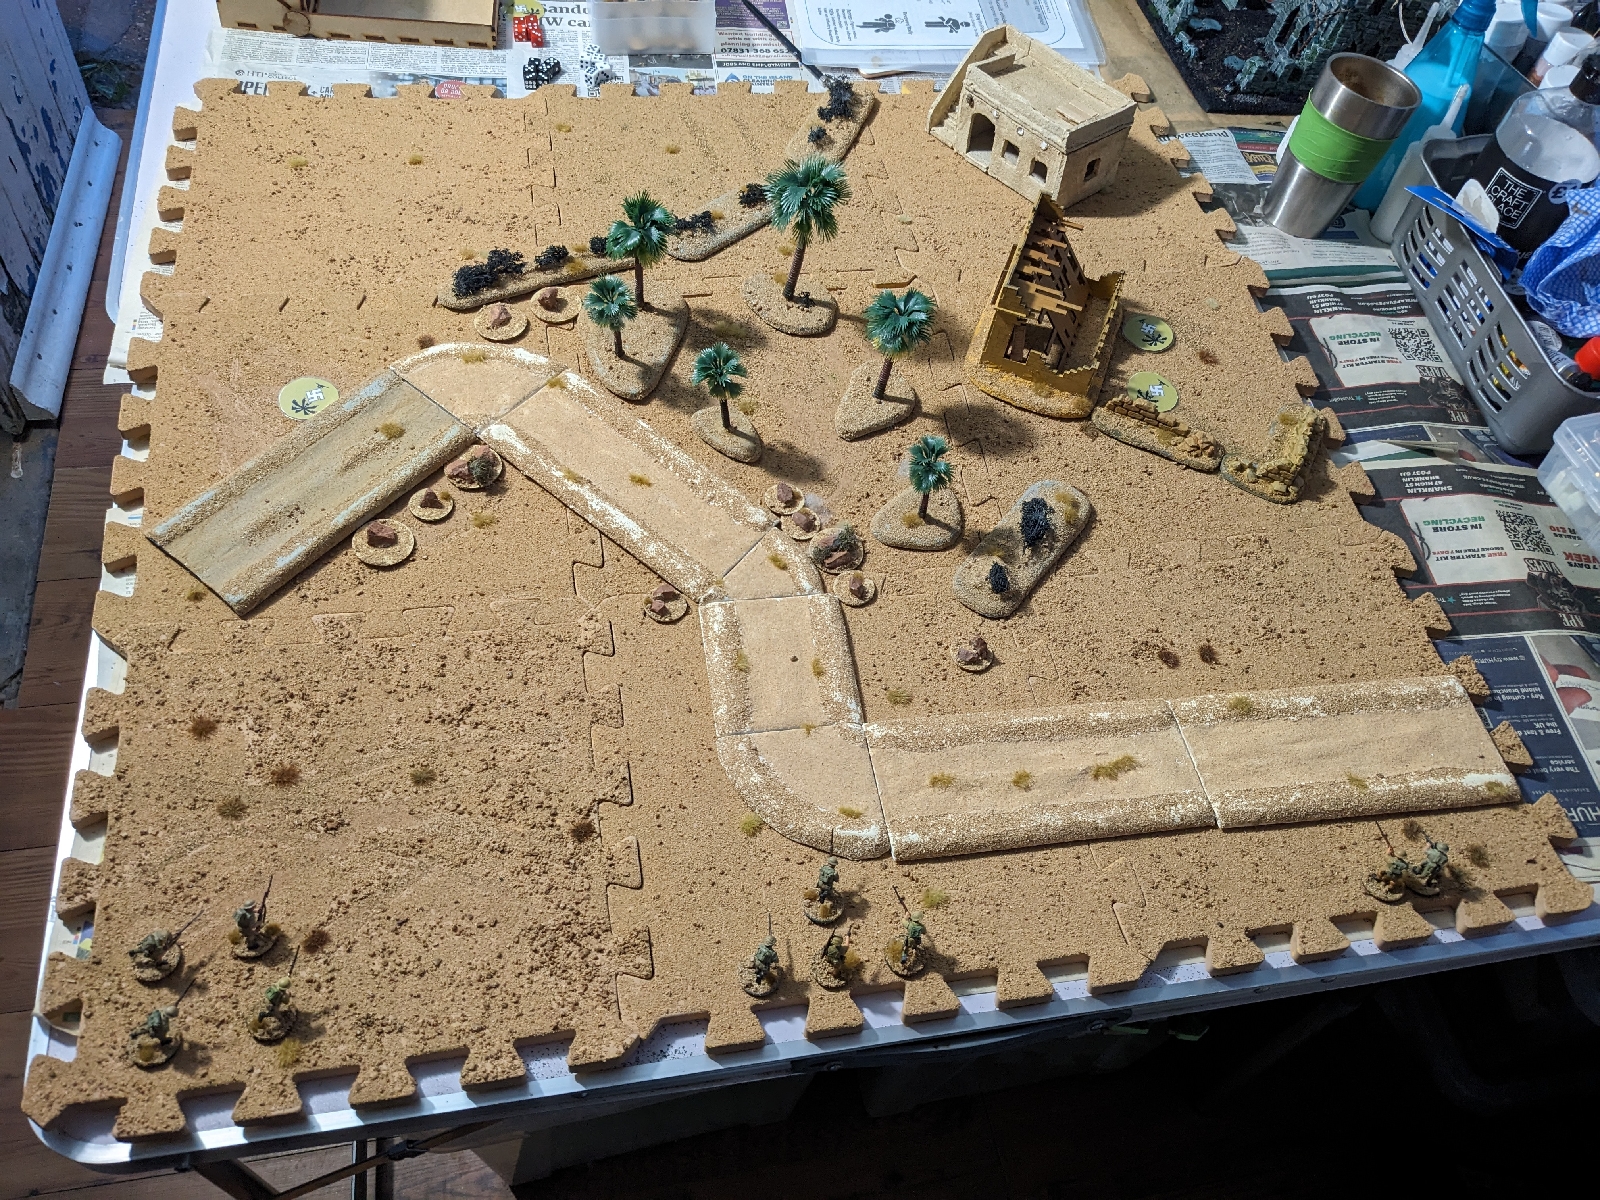
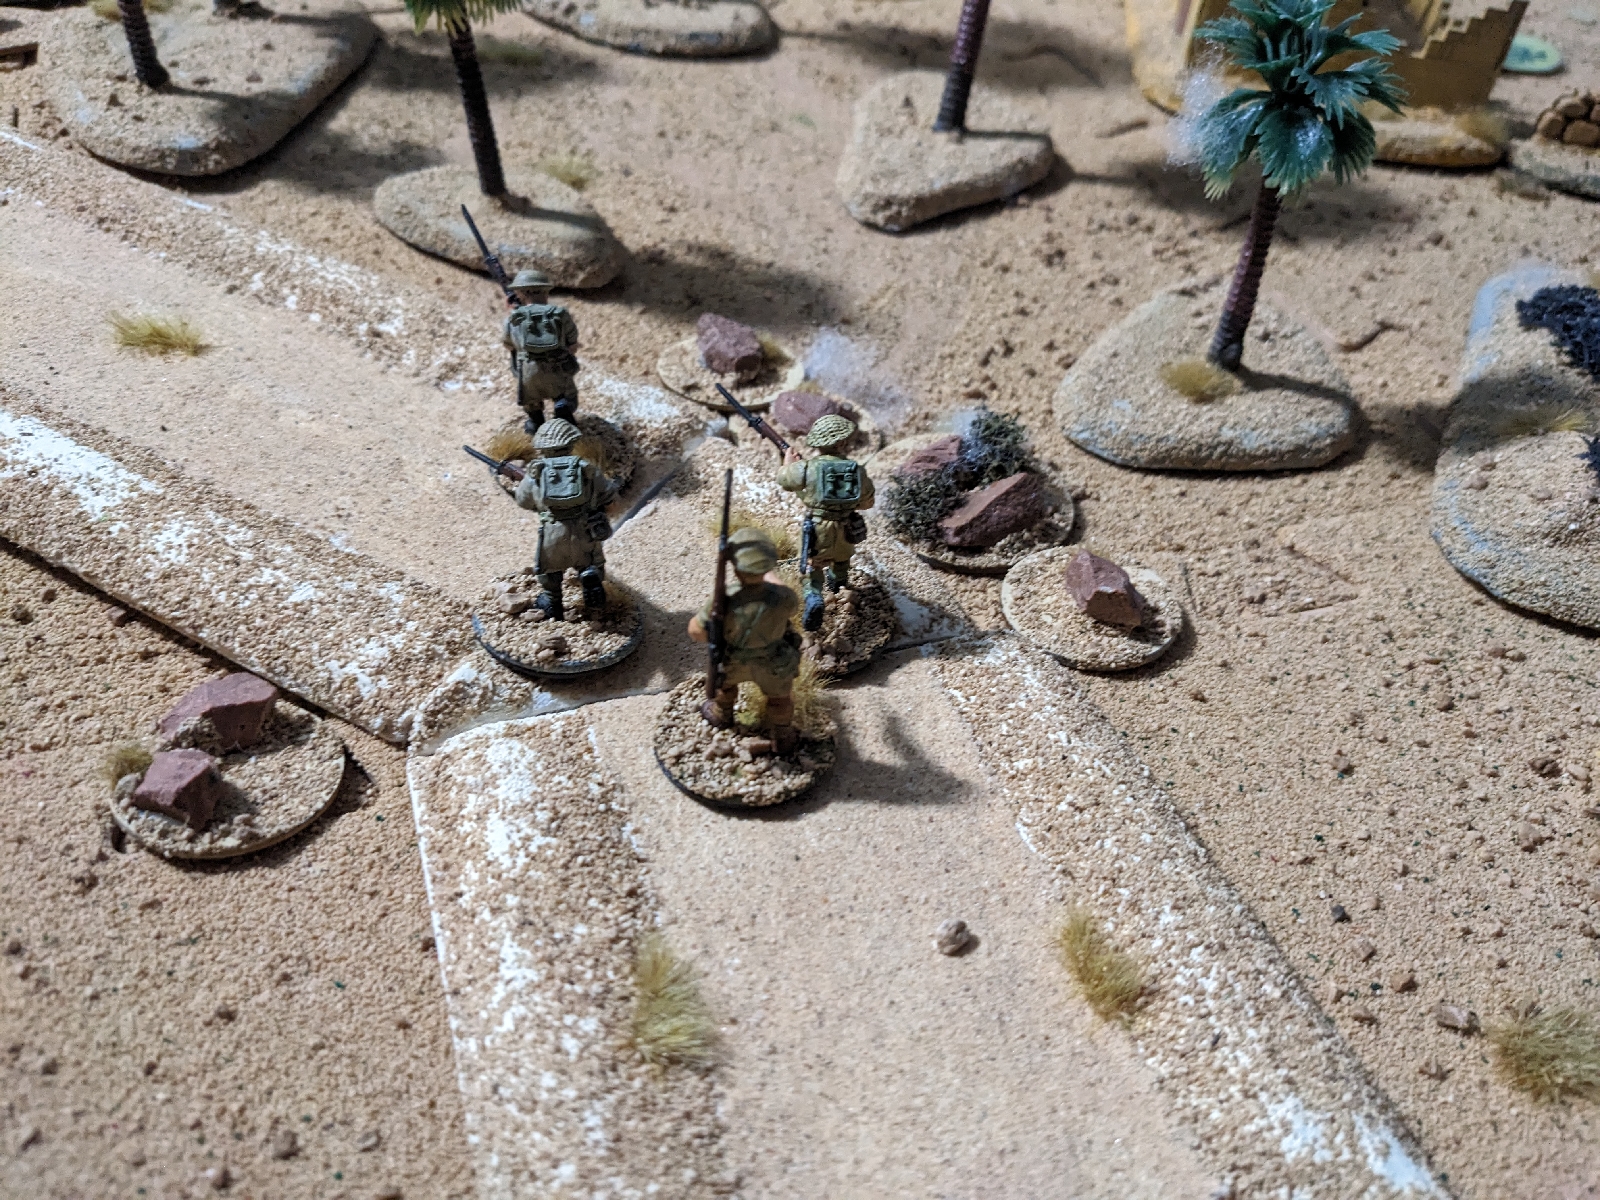
Kip has split the section into three groups with the Bren gun group lead by the L/Cpl on the right flank. Kip with three men in the centre and the section Corporal and three other men on the left flank PEFs have been placed. Two behind the wall and building and a third on the other flank by the wadis edge.


Turn one


The Bren gun team moved up into the wadi on the right flank, but failed to get a resolution on the first PEF behind the wall. 2nd Lt. Kips squad advanced and moved into the wadi. The third squad advancing across the sand spots, an Italian, LMG team on the other side of the wadi.


Thet open fire on the Italian LMG, having won their insight test, however, it's ineffective and the Italians return fire with rifles and LMG forcing the British to duck back into cover.


Turn two


Both sides pass initiative, the Italians have the higher dice roll.


The PEFs all moved first. The Italian LMG team fires but with no effect, the British squad under fire all managed to recover and direct their fire on the Italian light machine gun knocking it out of the battle. 


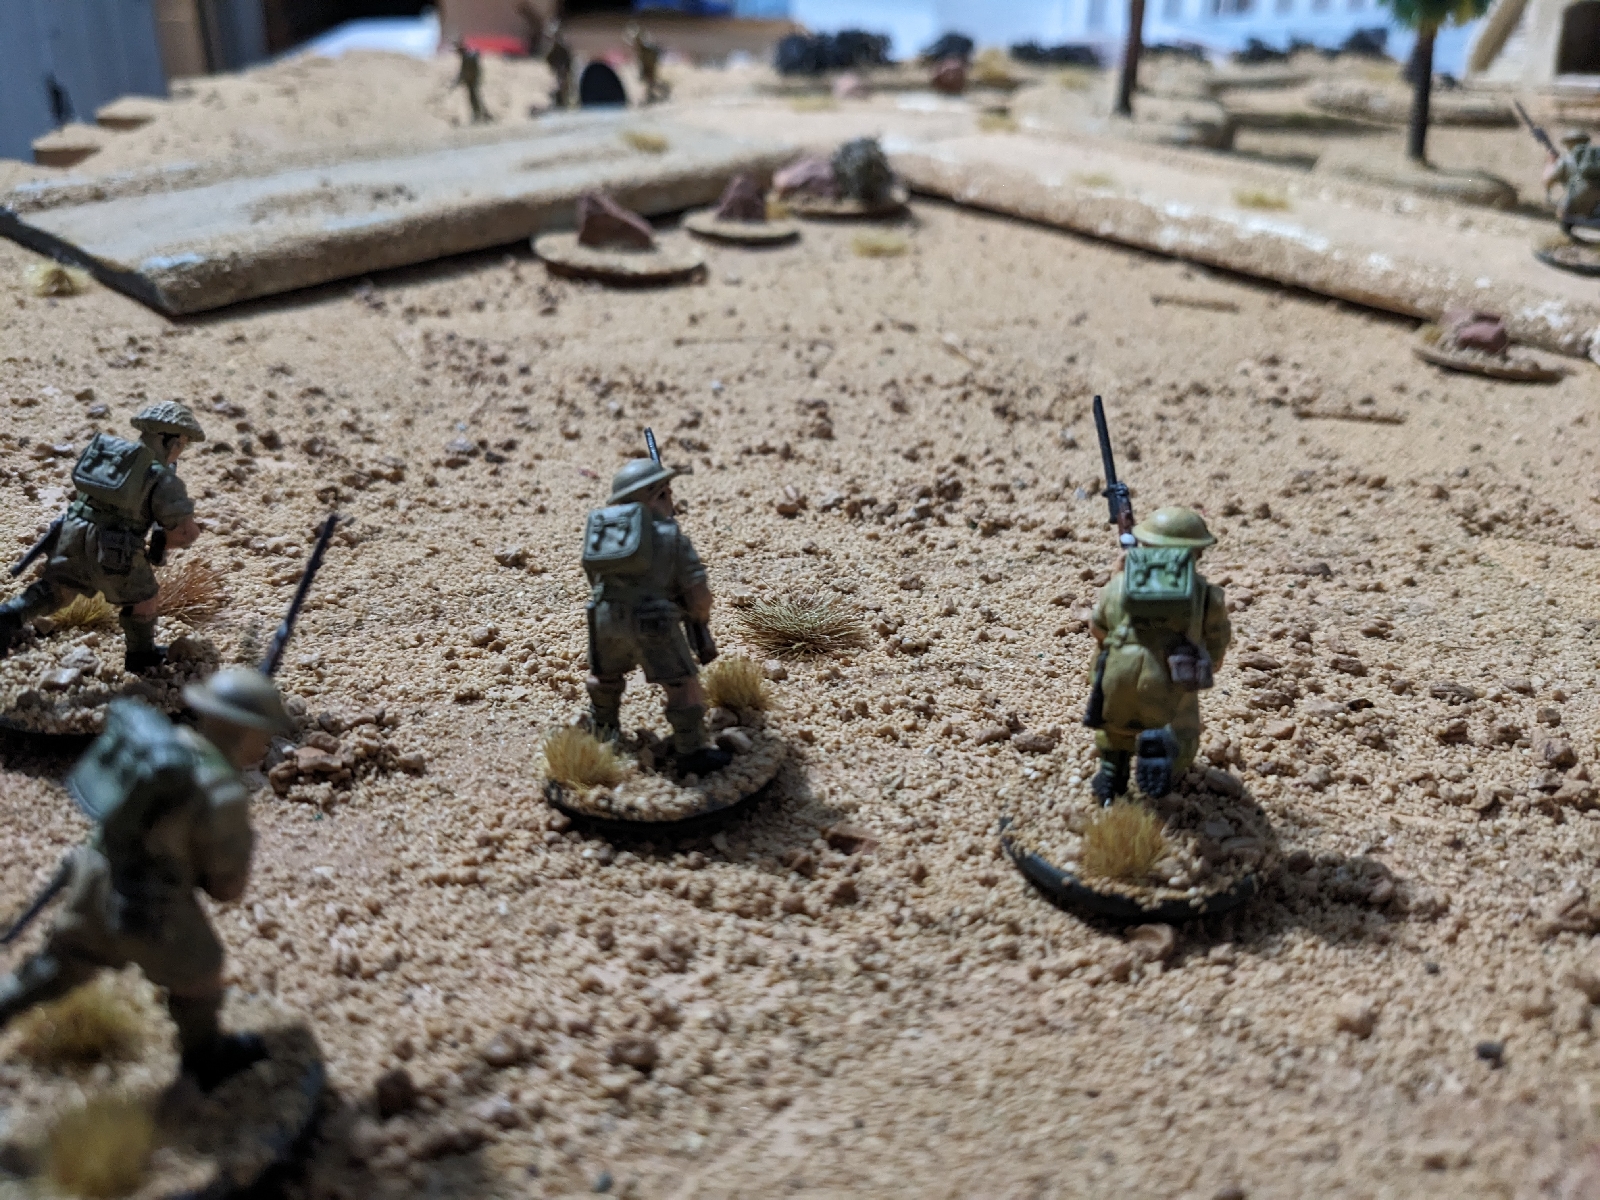
2nd Lt. Kip and his group proceed to move up the wadi towards the Oasis. 


The Bren team cross the wadi and advance cautiously towards the wall nearest to them.


The Bren gun team failed to resolve 2 PEFs behind the walls in front of them. 2nd Lt Kips men spot the italian LMG squad and Two men, pop off a couple of shots, but miss.


 Turn three


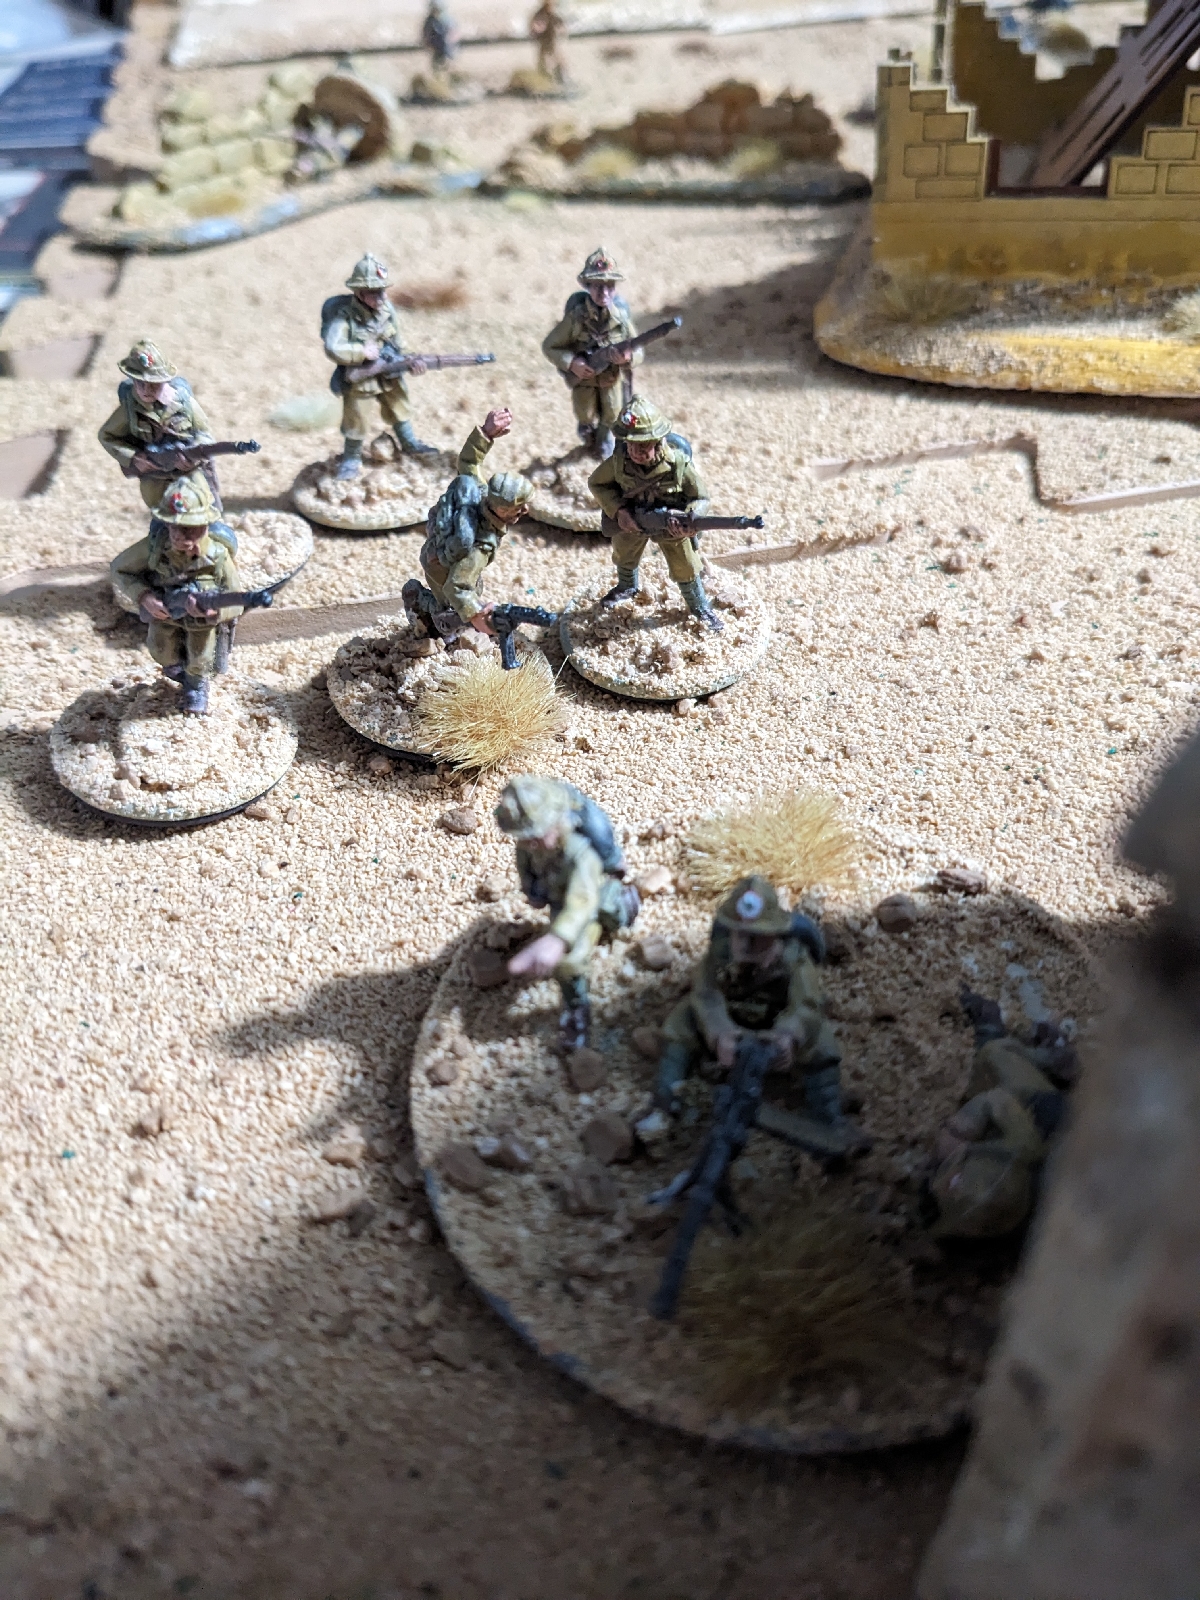
Both sides can activate, but the Italians have the initiative. PEF movement on the right flank as 2nd PEF is resolved. The rest of the Italian squad appear in cover behind the wall. The Bren team go prone in response to incoming fire


Turn  Four


The Italians concealed behind the wall take a splattering from the bren gun and are forced to duck back.


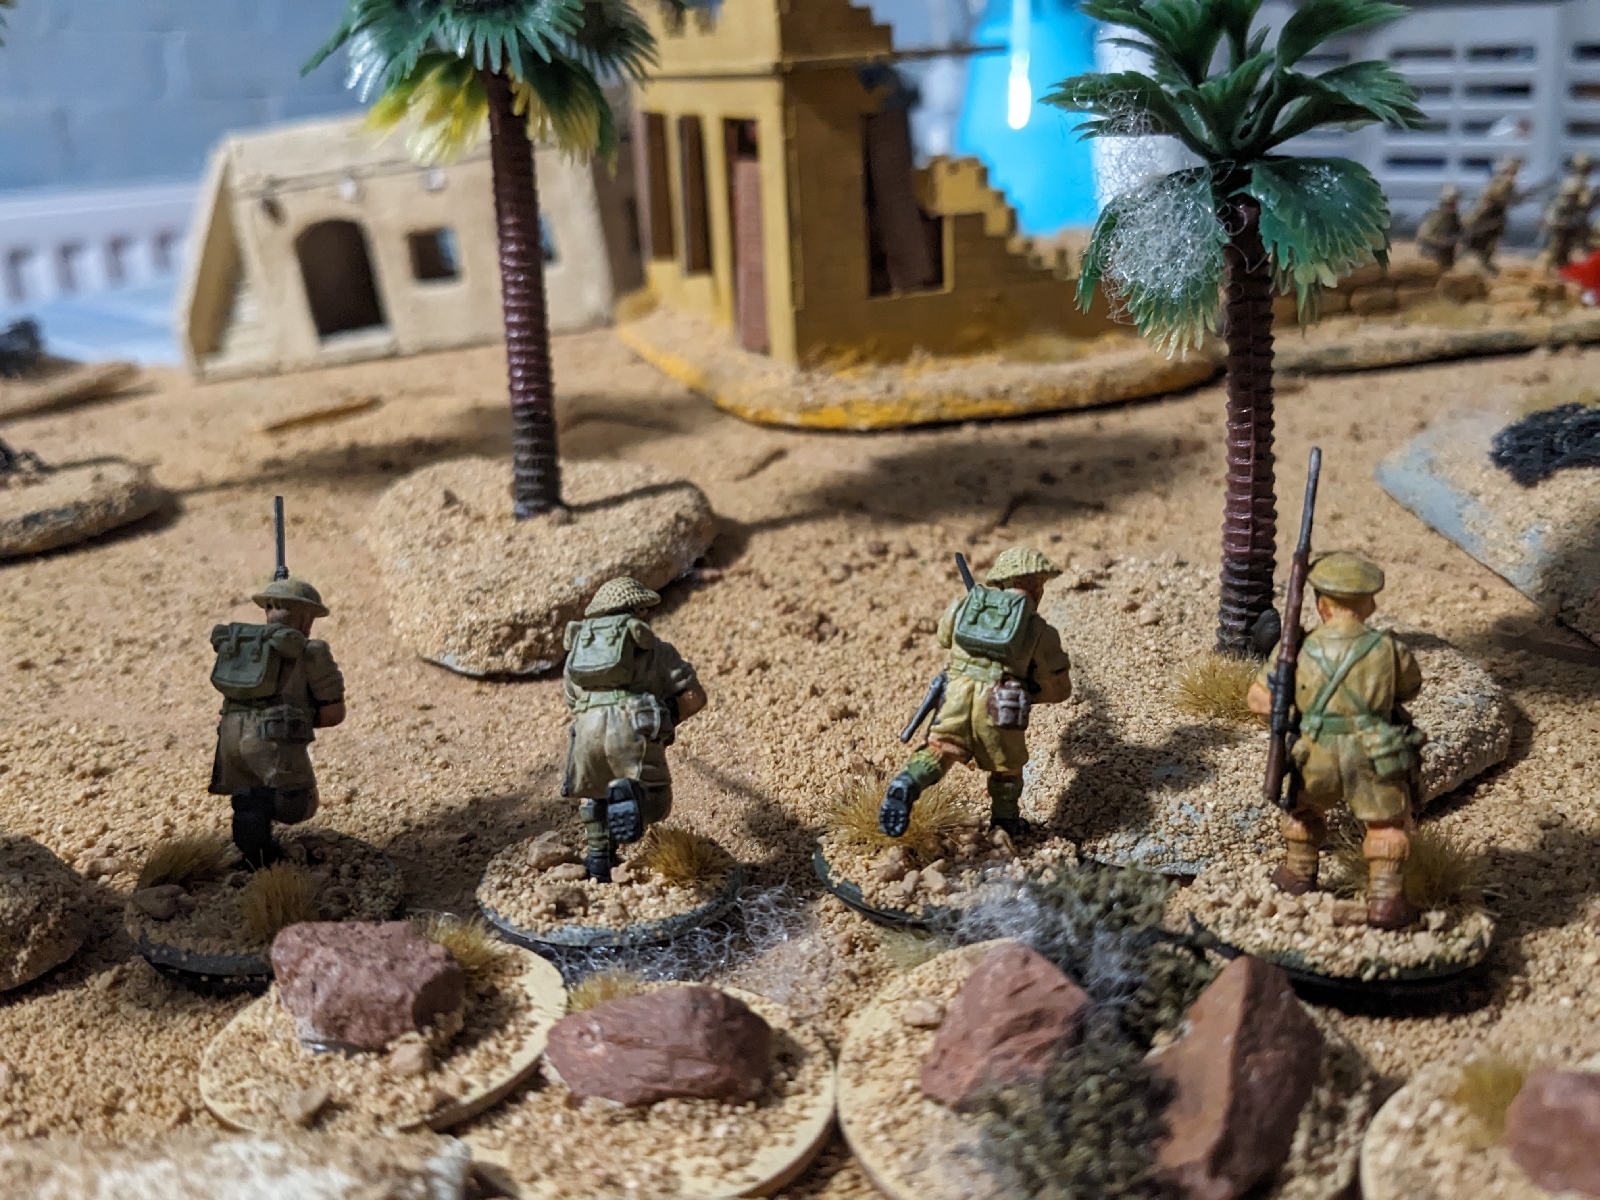
Bren team fails to resolve the other PEF that's lurking behind the wall. 2nd Lt. Kips section has climbed out of the wardi and makes it's way through the Oasis towards the buildings.


On the other flank. The Corporals Squad advanced forward slightly, and exchanged fire with the Italians knocking another one out of the battle, and forcing the last man to duck back behind cover.


Turn 5


This turn the British take the initiative.  The Bren Team having spotted the other PEF behind the wall was a Medium Machine Gun have scurried back into the cover of the wadi and let rip with another burst aimed at the troops behind the wall and managed to knock one of the Italians out, causing the rest of the squad to fail.their will to fight test. They break and seeing them bug out the MMG next to them joins them. All Italian forces at this point are in retreat.


Turn six


The Italians gain initiative, but fail to rally and continued to retreat from the table. 


Kip and his group moved up through the wadi to the rough ground. The British Corporals squad move forward and into the wadi.


Bren team again, advances towards the wall,


The men of the Italian forces again fail to rally and leave the table, allowing British forces to reach the edge of the table and complete their reconnaissance patrol. The Italians suffered four out of the battle casualties three died of their injuries and one was taken prisoner and passed down the lines. The British suffered no casualties.


2nd Lt. Chaplin and his Platoon now carry on with the advance to Sidi Barrani where they will no doubt see more action.

Monday, August 28, 2023

Nuts! North Africa.Solo Campaign

A while back I supported a Kickstarter from Two Hour Wargames for their new NUTS! Campaign books.

I chipped in to get all 4 of the new campaign books as pdf downloads and also received a free copy of the Platoon Leader book which include a platoon campaign tracking system. 

The four campaign books cover the war in NW Europe, the Eastern Front, North Africa and the Far East. Each is packed with Scenarios and between them they cover the whole war from 1939 to 1945. 

For my first campaign I've decided to start in Dec 1940 with Operation Compass the British push to eject the Italian forces that had invaded Egypt earlier in the year. 

Second Lieutenant Wilfred 'Kip' Chaplin, my Star Player, is the son of a Hampshire Game keeper who has been supported through Sandhurst by his fathers employer. A Marksman who always carries an Enfield Rifle as well as his service revolver when in action. 

He must lead his platoon into action as the first British offensive of the desert war begins.


The Paperwork is done and forces are mustered


For his first mission Kip has been tasked by his Company Commander to take a section of his men and recon over the wadi that parallels the British march line.


The buildings and small Palm Oasis must be checked for any Italian Troops that may be lurking to avoid the main British front line advance from Mersa Matruh towards Sidi Baran.


The scene is set for our first mission. I'll report back soon.

Thursday, August 17, 2023

Black Powder Epic ACW First play

For club night this week we were able to bring enough troops together to play our first ever game using Warlords Black Powder rules.

With four players each fielding a couple of brigades the objective was for the union forces to cross the river which was crossable at four points, two bridges and two fords.


Union Artillery covers the ford on the right flank as another brigade moves towards the bridge  


Union Troops move down the road towards the central bridge


Union Troops line the river 


First troops over the bridge meet a withering fire but they hold firm


The rush to push troops over the bridge begins

But the right flank attack is stalling at the ford.


The Rebs get a firing line in place to meet the flank attack as it clears the ford


And at the bridge chaos reigns as Union Regiments break and become whipped and move back over the river. The Rebs take the day.

All four players quickly picked up the basic game mechanics, which lead to some fairly fast play. We all came away agreeing that we will play this again on another club night. It's command system and simple core rules for fighting and shooting make it a great choice for throw down games at club.

Saturday, August 12, 2023

In Ancient Times they rode Elephants

I was recently invited to try my hand at some Ancients Wargaming by some fellow SWWC Members.
I've always been interested in the history surrounding the dawn of civilisation as we know it but have never before had the opportunity to play any wargame in this period.  

The battle was fought on a club night using the Age of Hannibal ruleset from Little wars TV and was between the forces of the Persian Empire and troops from the Greek States. 


The Armies face off


The Persian center of Spearmen and Archers supported by Elephants rush forward towards the high ground where their longer range bows can come in to play.


Persian light cavalry and Greek skirmishers tussle


The Greeks have been busy over night digging some ditches to defend this pass between the woods and the lake 


The defences blunt and hold the elite Persian Cavalry but the Persian have Archers and Spearmen in Ambush at the edge of the forest and attack on the flank and rear


Battle raged as the lines meet

 Overall an excellent game for club play. 4 Players all fairly new to the rules soon all got the hang of the basics. I look forward to a rematch if only so I can have more Elephants in my Army 


Wednesday, August 2, 2023

Fire and Fury - The Battle of Shankhill

I had the pleasure recently of joining three other SWWC members for an American Civil War battle using the Fire and Fury rules.
Each Player controlled a force and deployed in a table corner.  
Victory Points could be claimed  by capturing the small town of Shankhill or capturing the roads leading to it. For a learning game the action was soon flowing even if the wings of the table got a bit out of synch at times. By the end of the evening the Confederate forces held the town but only one clear road in or out the others being firmly in Union hands or very contested.
Having just invested in Warlord Games Epic scale Black Powder Gettysburg set I'm now keen to see how those rules play out on the table and look forward to more Games of Fire and Fury in the future.


Tuesday, August 1, 2023

02 Hundred Hours Mission:Intelligence Solo

Grey for Games the creators of 02 Hundred Hours recently released some free downloadable pdf files with some solo play adaptations and event cards that I've been eager to play with. 
The rules of play remain unchanged and the changes come in the form of two flowcharts that guide which defenders activate and what their actions should be in either the calm/suspicious state or after the Alarm has been raised.
The printable deck of event cards are adapted from the standard events with less ambiguity on when the card should be played.

I was keen to learn in more detail the stealth and alert level tracking aspects of the game so the intelligence mission that sees the attackers searching a number of objectives on the table for useful information and then leaving the board seemed the way to go.


The table was set to represent the centre of a small french town. Advance elements of a German unit moving up to Normandy have parked up overnight to enjoy the wine and food they have looted from the town.
A small SAS unit has been tracking the German unit and decides to take advantage of the break and sneak around to see if they can find some useful intel.


While the British quietly enter the table in the alleys between houses and through the town park the German sentries walk their patrol route. The German Sergeant on roving patrol fatefully heads off towards the backstreet.


One Sentry comes under watch but can't see the commando lurking in the undergrowth. With Stealth being key still the sentry is allowed to continue on his way.


Likewise the German Sergeant who has continued to wander down the backstreet is being watched by a number of SAS troopers. The SAS officer who lead the way is over the street and into the next alleyway but a number of troopers hug the walls waiting to cross!


Despite the street lamps coming on suddenly the SAS officer makes his way through the shadows to reach the parked trucks. Unfortunately a search throws up no intelligence of any value.


Meanwhile in the back street the German Sergeant has continued on his way until something to the side draws his eye to the alley and the pair of SAS troopers hiding there. Startled he's only able to defend himself as they rush him with knives drawn. With only the butt of his SMG he successfully dodges the attack and fights back landing some blows on his assailant. 


Over by the park the British Sergeant is able to sneak a search of the armoured car where he finds route and deployment maps for the German units. Before he can go anywhere else the alarm is raised by the scuffles going on down the backstreet.


With the Alarm raised German reinforcement begin to rush towards the town centre.


In the back street the fight continues with the veteran German Sergeant gaining the upper hand and with the alarm now raised another SAS trooper appears, raises his rifle and shoots. His aim is poor and the shot misses.


The SAS officer taking advantage of the noise coming from the backstreet slips into the back of the local bar, a quick search throws up some useful intelligence. Time to bug out but the Officer senses that retracing his steps won't work with German troops now flooding into town so he start to work his way around the edge of town trying to reach the exit RV in the town park.


The German officer reaching town heads towards the sound of fighting in the next street over.


But his Sergeant has the situation under control after beating down the pair of SAS troopers in hand to hand combat he dispatches the SAS rifleman with a blast from his SMG.


Realising the game is up as they come under fire the SAS Sergeant and Trooper take out one unlucky German sentry and then bug out back the way they came through the town park.


The unfortunate SAS Officer however is outnumbered and cut off alone on the other side of town rather than be captured he decides discretion to be the better part of valour and ducking behind the bars outhouse he heads off into the darkness of the French countryside to evade capture.


The game ends with the Germans in firm control of the town at the cost of a single sentry. The SAS have been driven off, lost 3 men and the officer is M.I.A. trying to avoid capture!

I was really impressed with how entertaining a game the new solo system threw up. Solo players in the community offered a lot of input and the end result shines through. 

Once I'd been through the flowcharts a couple of times it all became a lot more fluid ,  the event cards added real spice with street lights coming on and a sentry doubling back on their route all causing some drama for the SAS. The German Sergeant's roving patrol was pure bad luck on the part of the Attackers and was pivotal in the outcome of the game. That extra character action can make a huge difference in a close in scrap.  

Next solo game will now have to be the Evade mission to see if the SAS officer can rejoin his unit.  

"Get to the Chopper!" A FNG:Unconventional Warfare Game.

FNG:Unconventional Warfare is a supplement that expands on the concepts in FNG: Tour of Duty for running Special Forces in the Vietnam Confl...