In this second game of the Operation Compass Campaign 2nd Lieutenant Kip Chaplin has been ordered to attack and secure a small building with a courtyard on the outskirts of Sidi Barani and to drive any Italian forces he encounters from the battle field.
Kip is leading his 1st and 2nd sections in this attack along side the platoon Sgt who has dragged the platoon medic and the 2.5" Mortar team along ... just in case.

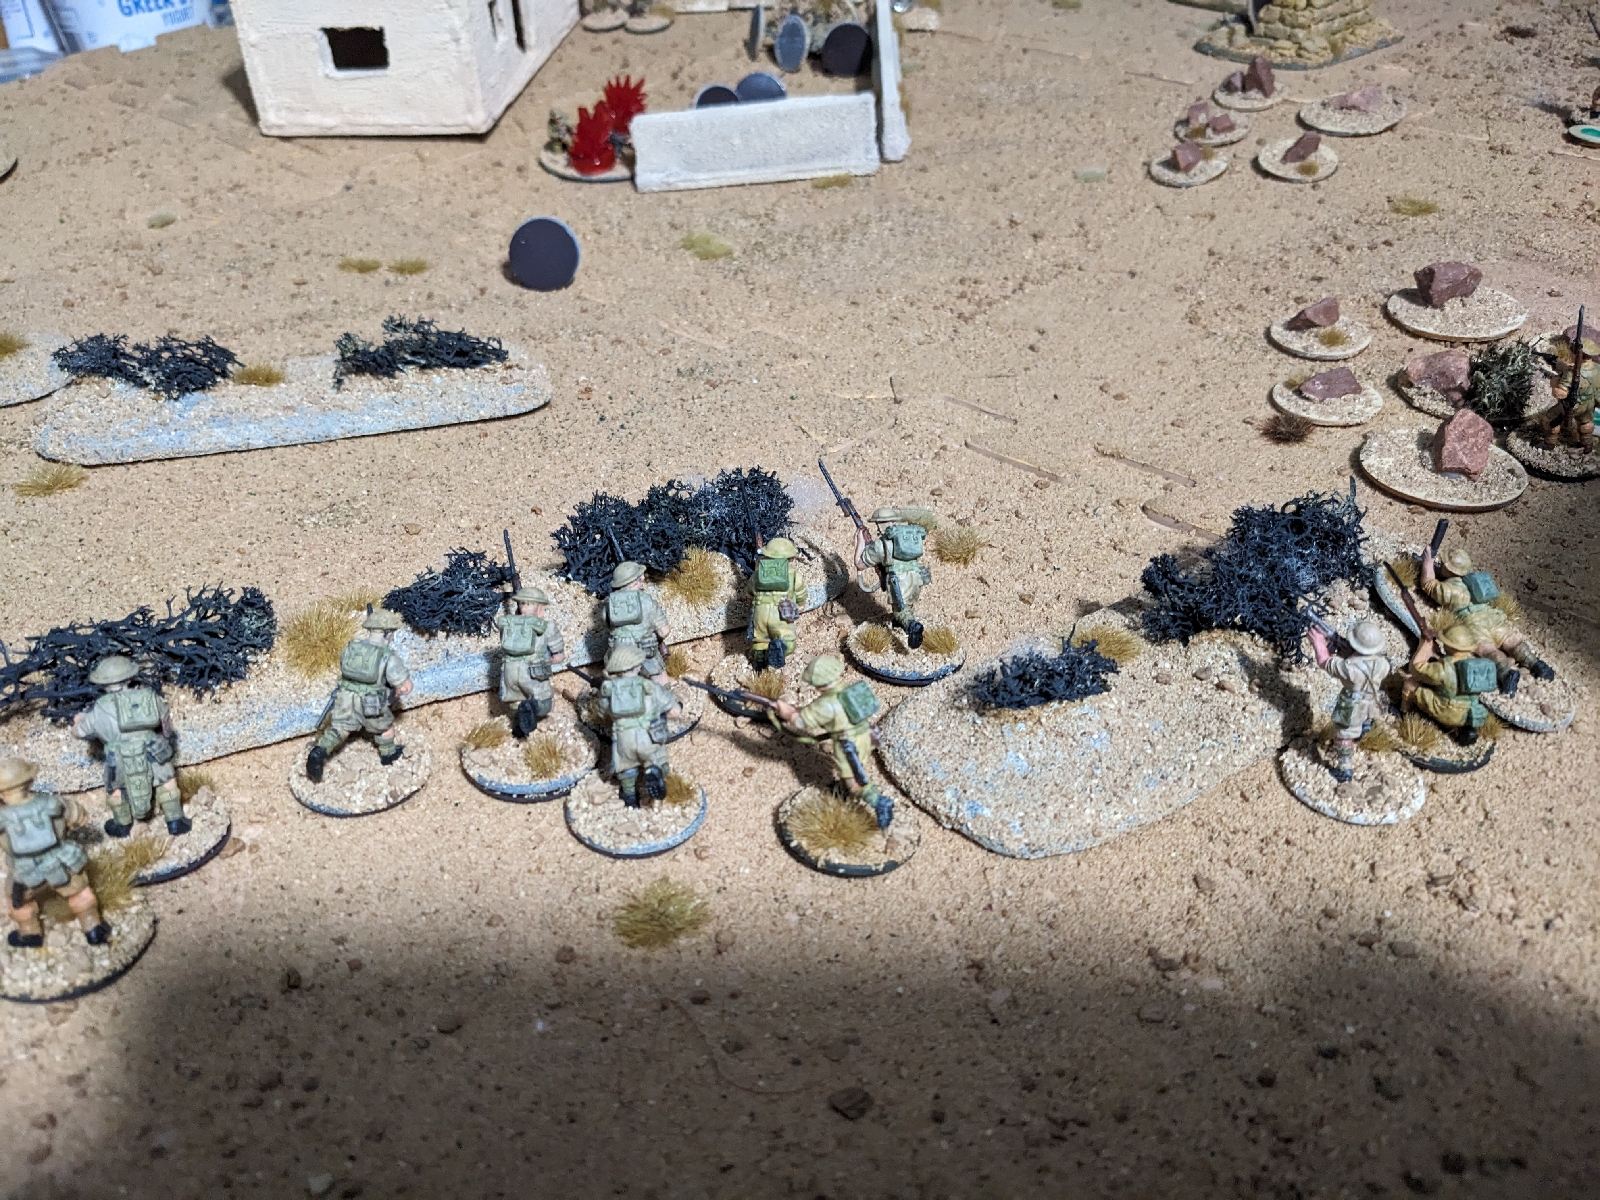
The British deployed with 2nd section on the right flank, ordered to take the ruined buildings and then provide cover for 1st section who would use the the cover on the left flank to move up the field and then assault and clear the building. Platoon HQ with the mortar team would act as support for both sections as needed.

With the Brits deployed the Italian PEFs where placed.
A hesitant start to the operation saw an additional PEF placed in the building courtyard before any movement occured.
A hesitant start to the operation saw an additional PEF placed in the building courtyard before any movement occured.
It was this PEF that first resolved into an Italian squad with LMG and a supporting MMG.
Winning the insight test against 2nd section they unleashed a withering fire just as the section was beginning its advance Killing one trooper and putting two others out of the battle. the rest of the section went prone in response.
The Mortar team however did win an insight test and were able to lay down smoke between the Italians and 2nd section.

2nd sections situation looked to be deteriorating badly as a second PEF that advanced into the ruined walls, second section was heading for, resolved into another Italian Squad. Thankfully the Bren gun team got the drop on them and a burst of fire caused them to duck back. Another Mortar round, HE this time found its mark devastating the Italians in the building courtyard.

1st section on the left flank continued to advance using the cover available and were able to identify another PEF which turned out to be nothing more than some scrub moving in the hot air currents.

2nd section using accurate fire send the Italian troops behind the wall into deeper shock by wounding a number and causing the remainder to break,

1st section continued to advance using the cover of the scrub and flushed out the Italian commander and his Sergeant cutting one down and sending the other running for cover. Further rifle fire then sent him running from the field.


With the Italian forces fleeing the field 1st section move towards the target building and spot the occupants a last worn Italian squad with LMG. The Italian LMG fires and misses and the return fire from 1st sections Bren gun is enough to knock the crew out. When 2nd section make it up to the courtyard wall their additional fire is enough to see the remaining Italians raising their hands in Surrender.

In the aftermath of the battle 1st and 2nd sections searched the building and any captive Italians finding a few bottles of Vino and some scraps of food and most importantly a map which Lt, Chaplin took.
The platoon mortar man's mate is known for his greedy attribute but spent the entire action under the beady eye of the platoon sergeant, In the after action period I decided to allow him to make a 1D6 roll against his Rep which he passed so I allowed him to slip away from the sergeant and spend some time searching the building as he moved up however the sections had picked it fairly clean and all he found was some chocolate.
After the action was completed Lt. Chaplin attended to his men. The man killed in 2nd section will be replaced but he will have two men out of action in the hospital for his next mission and the section will be rated Tired going forward, 1st section suffered no losses but after two actions are now rated as Exhausted and will need to be rested as soon as possible.
With the Commonwealth forces succeeding with their attack on Sidi Barani they quickly moved on towards Bardia where Lt. Chaplins Platoon will again be playing a role in the attack. With only one Section fresh and the other two either depleted or exhausted difficulties await. That map and maybe some of the vino liberated from the Italians may help grease the wheels to secure some extra support on their next mission.
With the Commonwealth forces succeeding with their attack on Sidi Barani they quickly moved on towards Bardia where Lt. Chaplins Platoon will again be playing a role in the attack. With only one Section fresh and the other two either depleted or exhausted difficulties await. That map and maybe some of the vino liberated from the Italians may help grease the wheels to secure some extra support on their next mission.


